


Green Living
Practicing Self-Care in the Kitchen with Elle, the Foodie

Welcome to Test Kitchen — a series dedicated to experimenting with our Edible Garden collection!
Each month, we’ll speak with a chef or mixologist about our indoor herb or vegetable garden plants. In addition to expert preparation and care instructions, they’ll share exclusive food or drink recipes that are as fresh as the ingredients themselves.
Next up is Lauren Gillon of Millennial Meets Stove, who created a trio of recipes that’ll leave both you and your tummy happy.
Self-care looks different for everyone. For some, it looks like the full spa treatment: manis, pedis, massages, and the like. For others, it looks like putting your cell phone on “Do Not Disturb” and burying your face in the fiction book that’s been sitting on your shelf for who knows how long. For self-taught cook Lauren Gillon, it looks like getting creative in the kitchen.
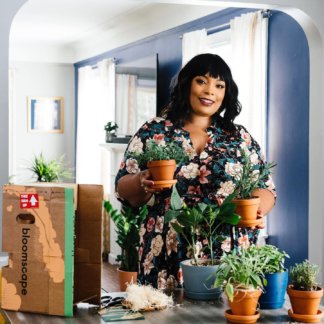
Lauren, also known as Elle, the Foodie, is a Detroit native and the founder of Millennial Meets Stove — a lifestyle blog teaching millennials how to prepare viral-worthy meals. During her junior year of college, Lauren discovered her passion for cooking after recovering from an intense panic attack. “Cooking is so therapeutic for me: from executing new recipes, making favorites that I grew up on when I missed my family, and even following my favorite Martha Stewart recipes. I find so much peace in turning on my favorite playlist, kicking everyone out of the kitchen, and cooking random dishes whether for my blog or just for fun,” she says.
There’s no need for us to go into detail about how stressful this year has been. The bottom line that we’re sure everyone can agree on is that we could all use a little bit (more) self-care. We’ve all got to eat, so why not eat something really, really good. Put on some of your favorite tunes, grab your apron, and try one — or all — of Lauren’s recipes that she created using some of our fresh herbs and veggies!
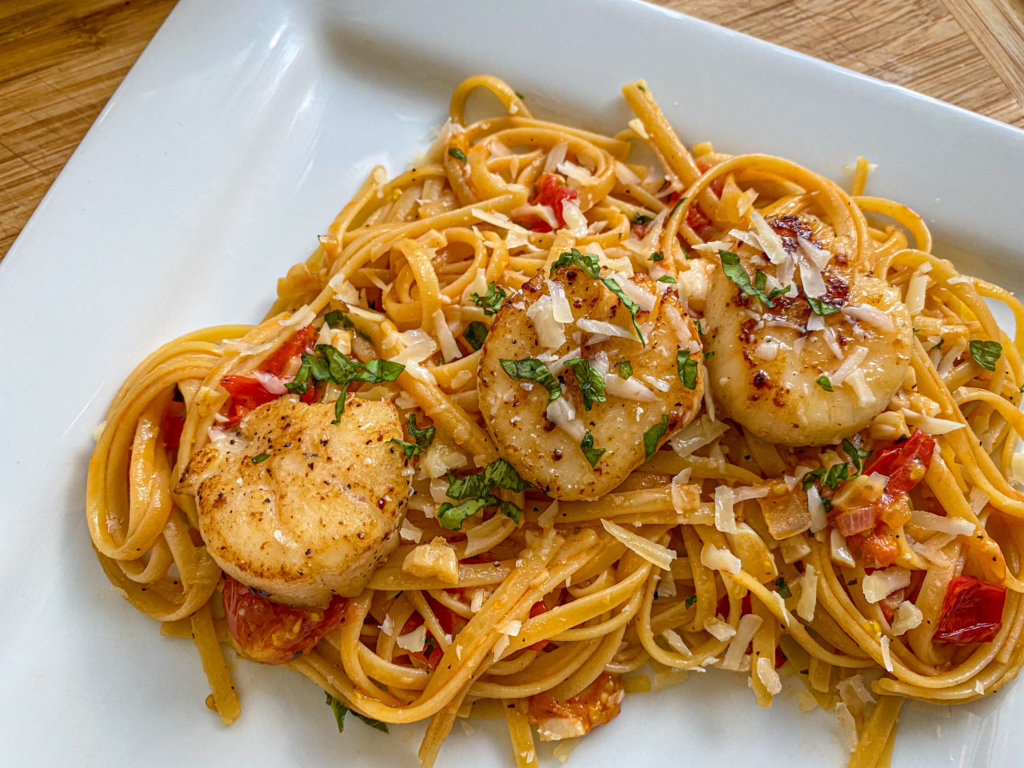
Brown Butter Scallop and Tomato Linguine
Ingredients:
- 12 oz scallops, you can determine the number of scallops you’d like to use
- 6 oz cherry tomatoes, I grew and used about two handfuls
- 3 large garlic cloves, minced
- 1 small shallot, peeled and chopped
- ½ cup broth or white wine, reserve 1/2 cup of pasta water to use as a thickener
- 1 ½ tbsp unsalted butter
- fresh basil, finely chopped (about 1-2 tablespoons)
- olive oil
- salt, to taste
- black pepper, to taste
Method:
- In a large pot, bring water to a boil, salt, and oil to the water before adding pasta. Cook the pasta until it is al dente but not too soft to prevent it from being mushy. Reserve ½ cup of pasta water.
Pro tip: Cook the pasta until it is almost done and save in the hot pasta water before transferring to the skillet to assemble. This keeps the pasta moist and not cooking them fully will ensure that the pasta isn’t overcooked. - After the scallops have dried on the paper towel, sprinkle both sides with salt and pepper. Add oil to a frying pan on medium-high heat and add the scallops once it is hot. You will want the pan sizzling but not too high to burn everything up. It’s not Cajun cooking!
- Leave the scallops untouched in the pan and sear them 3 to 4 minutes or until the bottoms are browned. Flip and sear the other side for 1-2 minutes until brown. As they are searing, add butter and as it is browning, spoon the butter over the scallops to cook them through. Transfer to a plate once they are done.
- In a large skillet, add about 2 tbsp of olive oil and add garlic and shallots. As they both begin to cook, cut the cherry tomatoes in half and add them to the skillet to sauté. Reduce the heat of the pan to medium heat.
Add white wine or broth to the pan with tomatoes to deglaze it and let it cook for about 30 seconds. Add the pasta to the veggies and juices and mix thoroughly. Turn the heat down to simmer. - The juices will make up the sauce for the pasta so if it looks too dry, slowly add a few tablespoons of pasta water, and don’t forget to salt and pepper to taste.
- Add the scallops to the pasta and toss; top the pasta with fresh basil and shaved parmesan. Serve immediately and don’t forget to tag Lauren in your pictures at @elle.thefoodie!

Non-Dairy Zuppa Toscana
Ingredients:
- 2 tbsp olive oil
- 1 onion, medium and diced
- 4 to 5 garlic cloves, minced
- ½ cup dry white wine, vegetable broth is a great alternative
- 2 tbsp flour, all-purpose, or whatever is on hand
- 5 cups vegetable broth, chicken is acceptable
- 3 medium to large russet potatoes, cleaned and cut into 1/2-inch slices
- ½ tsp crushed red pepper flakes, this controls the spice, add more if you’d like
- 1 lb of Italian sausage, break pieces into small chunks and bits
- 1 can full-fat coconut milk, 2 cups of plant-based milk is fine as well
- 1 medium bunch kale or about 4 packed cups, removed the stems and chop the leaves
- roughly
- salt and pepper to taste
Method:
- Place a large pot on a medium fire and coat it with olive oil (about one full circle around the pot usually works).
- Once the oil has heated up, then add the onion and cook for about 5 minutes until translucent. Don’t forget to stir occasionally.
Stir in the garlic and cook it for about 1 minute or until your kitchen smells nice and aromatic. - Stir in the wine or broth to gather all of the onions and flavor. Increase the pot’s heat until the mixture starts to bubble and then turn it back down after one minute.
- At this time, you want to let the mixture simmer for up to 6 minutes or until most of the liquid has cooked away. This is how we will create a thick soup base.
- Sprinkle the flour into the pot and stir it well until it’s incorporated with the onion and garlic mixture.
- Slowly add the broth (starting with just a splash) and whisk it continuously to prevent lumps. Continue adding the broth a cup at a time and don’t forget to whisk in between cups.
- Once the broth begins to boil, add in the potatoes and red pepper flakes. Season to taste with salt and pepper as well.
- Allow the potatoes to boil and increase temperature. After 4 minutes, turn the temperature of the pot back down to a simmer.
- Let the pot simmer while occasionally stirring for 25 minutes or until the potatoes are fork-tender.
- Once the potatoes are tender, add in the cooked sausage, coconut milk, and add the chopped kale last. Be sure to stir and add more kale if needed.
- Bring the soup to a roaring boil to wilt the kale for up to 4 minutes and bring the temperature back down to a boil until you’re ready to serve.
Serve warm and don’t forget to share with the ones you love!
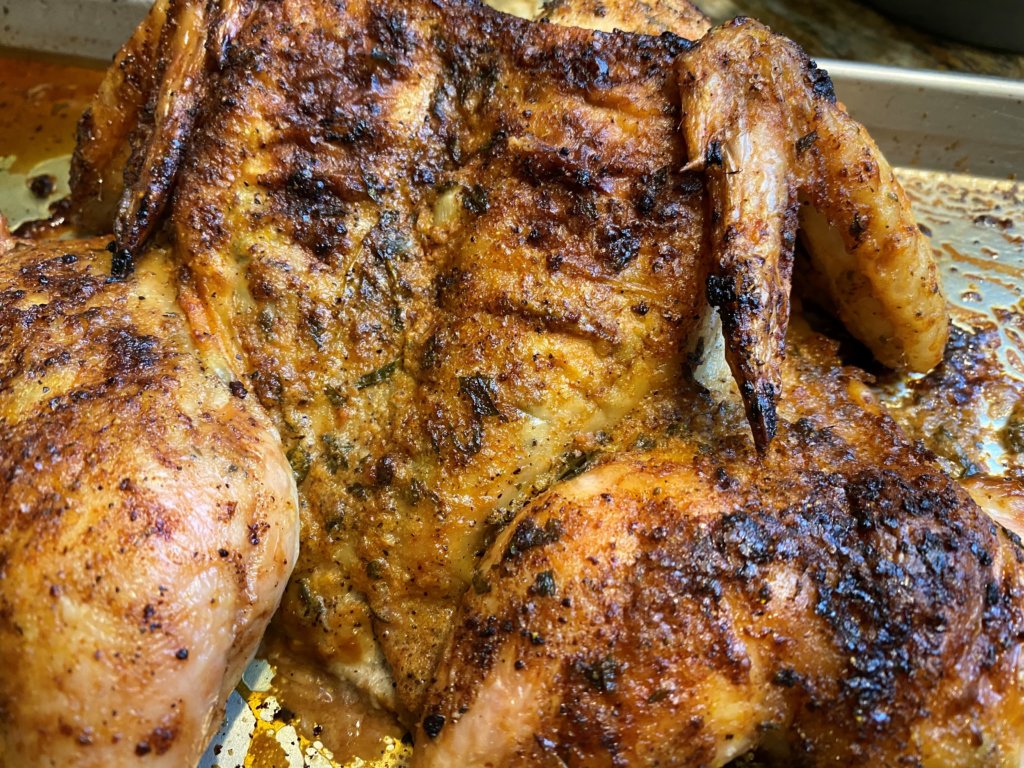
Spatchcock Chicken with Lemon Thyme Butter
Ingredients:
- 1 cup of butter, 2 sticks and softened
- ¼ cup fresh thyme, chopped
- 2 tbsp lemon juice + zest of 1 lemon
- ¼ to ½ tsp black pepper
- 2 to 3 cloves of garlic
- 1 tsp granulated onion
- 3 to 4 lb whole chicken, remove all of the inners
Method:
- Preheat oven at 450ºF.
- Use a pair of kitchen shears to cut along the right side of the chicken’s vertebrae from the tail to the neck.
- Cut the same way along the left side until the backbone is removed. Use a sharp knife if you have problems cutting around the tailbone. Turn the chicken breast side up and adjust the legs to be turned outward.
- Press firmly downwards until the chicken is flat and you hear it crack.
- In a medium bowl, mix together all of the butter ingredients. Be sure to salt and pepper heavily if you are not seasoning the chicken before lathering in the butter spread. Lauren prefers to use her food processor and process for 1 minute for whipped butter.
- Lift the chicken’s skin gently and add butter underneath the skin, this will help the breasts stay moist. Lauren recommends using a spatula for this.
- Rub the remaining butter all over the chicken and its creases. You don’t want to miss a spot!
- Line a sheet pan with baking paper (or spray with nonstick spray) and place chicken in the middle. Lauren likes to sneak butter on the sheet where the chicken will be placed for extra flavor.
- Cook chicken covered for 40 minutes and 15 to 25 minutes to roast and crisp the skin. Use a meat thermometer to ensure that the chicken’s internal temperature has reached 165ºF.
- Once the chicken is finished cooking, remove it from the oven and let it rest for 5 to 10 minutes.
- Eat up!
Shop Elle’s Ingredients
People also browsed
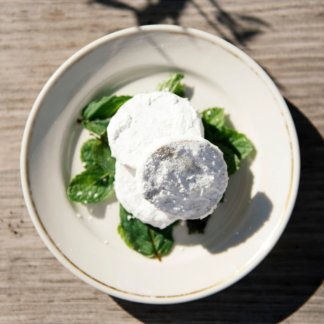
Fresh Mint and Lime Shortbread Cookies Recipe By Sister Pie’s Lisa Ludwinski
Angela Davis of The Kitchenista Diaries Cooks Up Cozy Fall Comfort Food
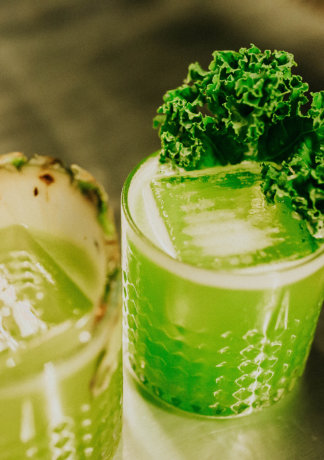
Craft a Tasty Kale Cocktail With Standby Detroit’s Joe Robinson